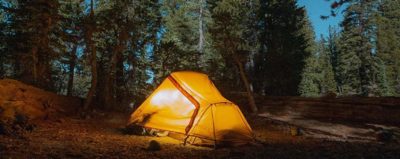
There’s a ton of options when choosing a tent. 3 season, 4 season, free-standing, sizes, and weights. Don’t let all the options overwhelm you; we’ll talk about all of them. The most important thing to think about is what time of year you’ll be camping, size, and weight. For most people, a double-wall, 3 season tent with internal mesh walls and a removable rainfly is going to be the best fit. This tent will also breathe well-giving plenty of airflow.
We’ll go through all of this and more. Let’s look at everything you’re going to need to know when looking at buying your first tent.
How Many People Are Going to Be in the Tent With You
The first thing to consider is if this is a solo tent or others will be with you. If you’re a solo backpacker, you can get away with a much smaller tent. My main backpacking tent is a tiny and light 1 person tent. There’s no way someone would be able to sleep in the tent with me. I don’t even like being in my tent unless I’m sleeping due to its size.
Tent manufacturers say how many people a tent is intended for. The problem is there is no standard for this, and it varies from manufacturer to manufacturer. Looking at a 3 person tent from one brand can be much smaller than another. If the tent is for ultralight backpackers, then it will likely be even smaller.
Generally, if you want to be more comfortable or just need more space, look for a tent “one” size larger than how many people are going to sleep in it. Look closely at the dimensions before deciding on the right size tent for you.
3-Season vs. 4-Season Tents
For the first time tent buyer, a 3 season tent is going to be perfect. While not ideal for winter camping, most of the time, you’ll be camping in warmer months. Even if you do want to go camping and hiking during the winter, there are a few ways around only having a tent for warm months. I go through complete detail about winterizing your tent in this article here.
Even people with a need for a winter tent are going to have multiple shelters. 4 season tents are heavy, hotter, and much more costly than a 3 season.
3-Season Tents
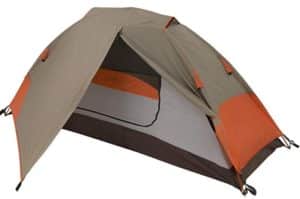
These are the bread and butter for the camping world. They strike the correct balance of weight, cost, and livability for backpackers. Made to be lightweight, while being able to stand up to some snow and light winds. 3 season tents have thin walls, and floor materials provide less bulk and weight. Even the aluminum frame and sleeveless pole construction cut down on weight while remaining secure, for most mild weather. They are not suitable for extreme conditions with heavy snow and violent winds.
These tents do a great job with ventilation. Open mesh walls and a few vents allow air to flow freely throughout the tent. The sidewalls and rainfly have a large gap from the mesh wall to let the wind blow inside. All the mesh and open-air prevents condensation buildup and keeps the tent cool during the hot summer nights. A three-season tent is a great package that’s typically between 3 to 6 pounds in weight.
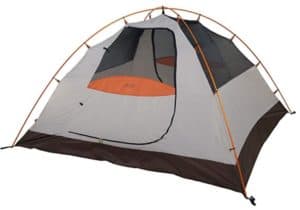
Extended-Season Tents
If you are looking for more strength and durability than a 3 season tent, but not quite ready for a full winter tent, then an extended season tent might be perfect for you. These will have stronger poles with an extra pole to keep the tent secure in winds and snow. Included will be an extra wall layer that will go over the mesh wall.
I don’t recommend these extended season tents for one big reason, the price. Many brands sell these tents for close to the same price as a full 4 season or winter tent. I recommend having a high-quality 3 season backpacking tent, and if you need a winter one, just buy one. Most backpackers end up with multiple tents anyways. Use the gear for the situation that’s needed.
4-Season Winter Tents
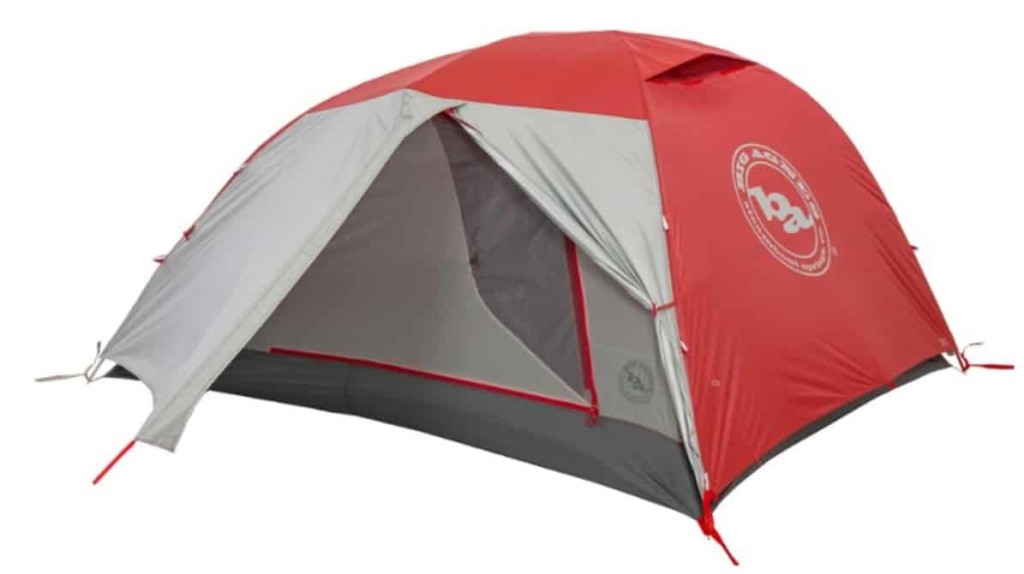
Winter or four-season tents are designed to withstand extreme weather. They stand up to heavy snowfalls, hail, ice, and fierce winds. While they are called four-season, people usually only use them in the wintertime. This is because of their extra weight from having thick walls and generally made from better, thicker material.
The ideal four-season tent should be double-walled, free-standing, and have proper crossflow ventilation. While it would be great if a tent-like this could also be lightweight, unfortunately well made four-season tents are heavy.
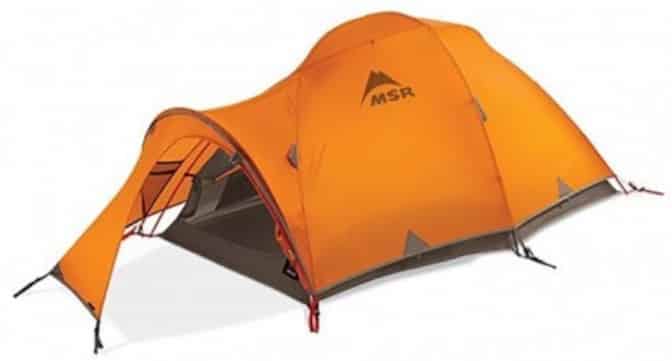
You don’t want a four-season tent as your only tent.
Tent Weight
Every single ounce counts that you carry on your back. Your tent is going to play a significant factor in total weight in your backpack. Tent designers want to keep the weight low, and they do this by cutting down on features, livable space, durability, and material.
While there are ultra-lightweight tents that are strong and more durable, they come at a hefty price. You’ll be able to find a reasonably lightweight tent that’s strong and doesn’t break the bank around the $100 to $200 range.
Unlike how many people will fit inside a tent, tent weight is a standard. ASTM International takes the guesswork out for manufactures in determining Minimum weight and Packaged weight.
- Packaged weight is the total weight of the packaged contents off the shelf.
- Minimum weight is the combined weight of the tent body, rainfly, and tent pole.
Some brands such as MSR call the minimum weight “fast and lightweight” to illustrate that things in the packaged weight are not needed on the trail. This would include other items that came with the tent, such as tent stakes, extra guy cords, stuff sacks, and repair kit.
When you weigh your tent, you might find it isn’t precisely the weight your manufacturer said it was. The weight advertised by the manufacturer should be within a few ounces. Some factors that play into this are.
- Your home scale might be off a little bit.
- Tent coating variances; the thickness in coatings on tent fabric can differ.
- A large number of fabrics are produced in “lots” that can differ between batches.
- Added items in the package or different factors producing articles for one tent.
Determining the weight of your ideal tent will depend on your comfort, carrying the load in your backpack. If the total tent weight is a significant concern, consider minimalist shelters.
Minimalist Shelters
Every backpacker focuses on different things to make their time in the outdoors more enjoyable. If your main focus is minimal weight savings, consider these options.
Tarp tent – Through-hikers and ultralight backpackers like to use tarps as a shelter because they are versatile and weigh almost nothing. Backpacking and camping tarps are nothing like the tarps you’d find at a hardware store. These are thin, lightweight waterproof nylon. Tarps are also going to have loops at the ends to attach to the ground. With loops at the top for the ridgeline too.
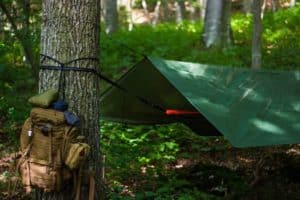
There are different configurations to set up a tarp to block rain and wind. But rain and snow is the tarps’ most significant disadvantage. A tarp shelter is also not great for muddy grounds and campsites with a ton of bugs.
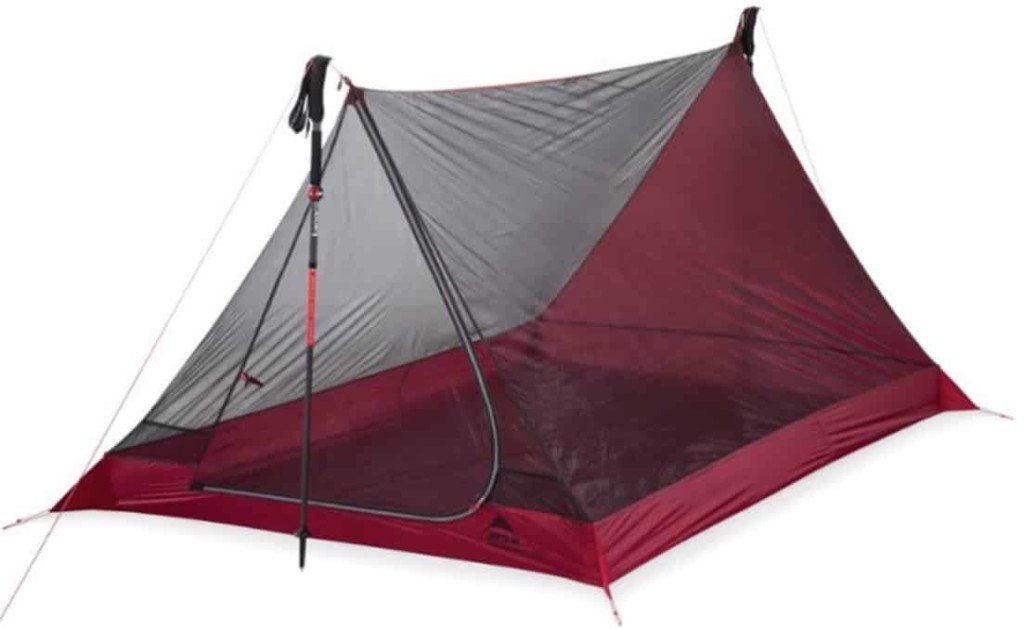
Basic bug shelter – These give the minimum protection from the elements and also protection from bugs. This is an excellent tent for back yard summer camping with no rain. It’s also an option to put a tarp over this tent while backpacking.
Hammock tents – I use a camping hammock, but I don’t enjoy sleeping in them. A hammock tent is going to have a rainfly for some protection from the elements. Look for a hammock that is 3 pounds or less. If they are heavier than that, you’d be better off bringing a tent unless you just enjoy hammocks.
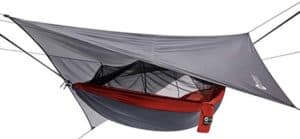
Remember that you’ll be in the air since a hammock is a tent floating above the ground. The top and bottom will be just as cold because you won’t have a sleeping pad adding insulation. Another disadvantage is finding the right location to place a hammock between two trees. This is minor but just something to think about.
Bivouac Sack – Also called a bivy sack, is a waterproof, breathable barrier between you and the outdoors. The biggest advantage of a bivy is they are lightweight and minimalistic. Many bivy sacks weigh under a pound or less.
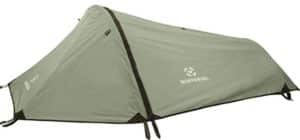
If you’re a little claustrophobic, a bivy sacking is going to be a bad ideal. They remind me of a fabric coffin. If you know you’re going to see snow and rain, a bivy is not ideal because you’ll be stuck lying down. My tent has a vestibule that allows me to cook in the rain; this can’t be done unless you have a tarp over a bivy.
Comfort Inside the Tent
If all goes well, you’ll only be in your tent while you sleep. It would be great if every day has excellent weather and you can spend most of your time hiking and fishing. When the weather turns bad to worse, you might have to find out how comfortable living in your tent really is.
Consider the livability inside your tent. Most tents cut down on weight by having sloped walls, minimal floor space, and headroom. While this is great for backpacking, it’s not so great staying inside your shelter for long hours during the day.
Look at the total square footage of floor-level space. This will give some indication of how comfortable the tent will be. Height of the tent. This is measured in one area, so look at the shape of the roof, domed, slanted, or squared. What is the shape of the walls? This is going to be the best indication for shoulder room and how well you’ll move around inside.
Backpacking Tent Features
Every feature adds weight like pockets or hangers. Small little features like a headlamp hanger and storage pockets make living in a tent much more comfortable.
- Doors – If more than one person is sleeping in a tent; two entries are a great feature. That way, someone isn’t stepping over another when getting up in the middle of the night.
- Vestibules – This is a nice feature if you don’t mind the extra weight. If the weather is terrible and you need to stay in your tent for extended periods, a vestibule is quite nice. A great benefit is being able to cook without getting rained on. This is where I also store my backpack for the night.
The Vestibule Is a Great Place to Store Your Hiking Backpack at Night
Some tents have two vestibules or covered outdoor spaces. This is great for storing everyone’s gear without being too crowded.
- Rainfly – Most tents come with them, but be sure before ordering. Also, a brightly colored rainfly will help find your tent in the heavy snowfall.
- Mesh panels – Ventilation inside tents help cut down on condensation. I remember my first time camping with family, in the morning I was perplexed why everything was wet inside the tent. We had little to no ventilation for 5 people crammed inside a little tent.
- Tub Flooring – This is where the floor fabric continues up for a few inches. Without any extra seams, this is a great way to keep bugs and water out.
The Tent Footprint Come Up a Few Inches to Help Keep Water and Bugs Out
These are the primary features but also check the quality of zippers and stitching. The zippers are going to open and close them hundreds of times. If the zippers on the doors and windows seem cheap, it can ruin your weekend.
Backpacking Tent Fabric
This is a whole subject onto itself, but most tents with an entry-level price are going to be made of nylon or polyester. Both of these fabrics are synthetic. Polyester, while not as strong as nylon, does have some advantages in UV performance. Nylon is pound for pound tougher than polyester.
It’s not always the case, but cheaper entry-level tents are made from polyester. If weight is not a big concern, polyester is fine because it’s cheaper but generally heavier. The tent I use incorporates both materials, with the footprint being polyester and the walls made of nylon. While not being ultralight, the cost savings were a natural choice.
A spec you can look at for tent fabric is Denier. The (D) at the end of the number is referring to Denier. Denier is a metric used to describe what the thickness or density of the material is.
The higher the Denier, the stronger the fabric, but only if we’re talking about the same type of fabric. This does not translate directly across all fabrics, though. Generally, for tent fabric, it’s a metric for understanding the durability of the tent. Each fabric is also inherently different in strength like we discussed with Nylon vs. Polyester.
Renting a Tent is Always an Option
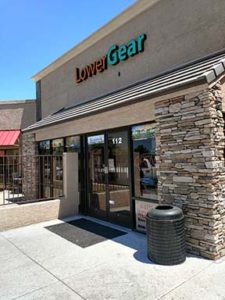
Renting a tent is an excellent way of trying out a few different styles before settling on purchasing. I’ve mentioned lowergear.com before for other rental camping gear. They are known for having fantastic customer service. They rent this ALPS 3-person family tent for $35 a day. This is a tent I have that’s a great entry-level family tent. This is the same one for sale on Amazon if you want to check the current price to compare the rental price. Lowergear.com rents a wide range of camping gear for every type of backpacker.
Tent Set up Tips
Test setup your tent at home before taking it out on the campsite. This is to make sure everything was included, and a practice run is helpful when you’re not rushing.
- Layout the ground tarp/footprint with the shiny side up.
- Lay the body of the tent on top of the ground tarp.
- Assemble your tent poles.
- Attach the poles to the body of your tent.
- Put the tent poles into the grommet.
- Install the rainfly on top of the tent (If you’re using one)
- Put the rainfly grommets underneath tent poles.
- Stake your tent.
- Tighten your rainfly.
Tent Stakes
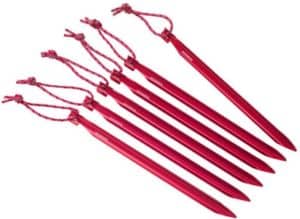
The tent stakes that are included are usually very cheap and bend easily. What’s worse, they are heavier than better replacement stakes. MSR makes some great tent stakes that are reasonably priced while being lightweight and durable. See the current price of the MSR Groundhog tent stakes on Amazon here. ALPS Mountaineering makes a nice tent at a very reasonable price. I like the features included, such as the rainfly and vestibule. This is definitely an entry-level tent. They keep the price down by using more cost-effective fabrics like polyester instead of nylon. Overall I’ve been delighted with this tent. Check out there full line up of tents and current prices on Amazon here.
Recommend Tents
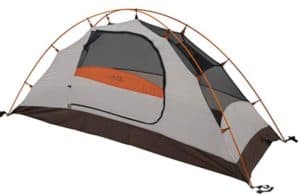
I like the features included, such as the rainfly and vestibule. This is definitely an entry-level tent. They keep the price down by using more cost-effective fabrics like polyester instead of nylon. Overall I’ve been delighted with this tent. Check out there full line up of tents and current prices on Amazon here.

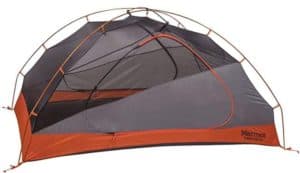
For a step up in quilty, take a look at the Marmot Tungsten 2 Person Backpacking Tent. When comparing the quilty of this to the AlPS Mountaineering tents, a few things are apparent. The Marmot poles are stronger and shaped in a way to give you more space inside the tent. It’s built with better fabric while also being much lighter. Check out the and current price of the Marmot Tungsten tent on Amazon here.
I hope this general tent guideline was helpful and shed some light on somethings for your first purchase. Camping and hiking are a feeling out process, and the more you go out on the trail, you’ll find the gear that best suits your needs.

