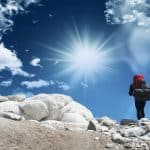

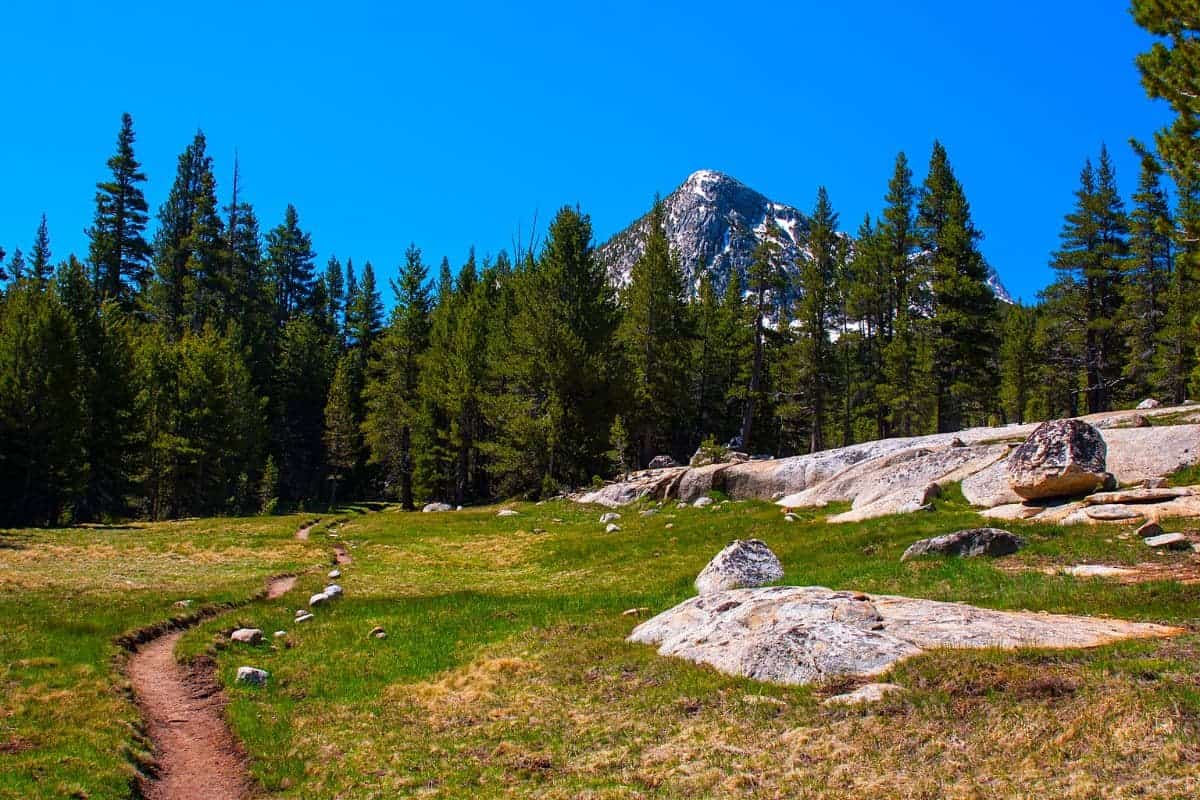
I’ve hiked a ton of places, but I have to say hiking the John Muir Trail is an unforgettable adventure through some of America’s most breathtaking wilderness. As you take on this journey, you’ll find different parks, each offering iconic landscapes. Covering over 200 miles, the trail has a variety of experiences amidst the stunning High Sierra scenery.
Let’s experience the John Muir Trail together with its high-altitude passes, tranquil alpine lakes, and the chance for personal discovery.
Article Highlights
- Tackle the John Muir Trail’s diverse terrain, including Yosemite, Sequoia, and Inyo National Forests.
- Proper planning is critical for safety, enjoyment, and trail navigation.
- Section hikes can offer a manageable and equally enchanting experience of the trail’s beauty.
Planning Your JMT Adventure
Before hitting the trail, you’ve got some prep to do. These are the crucial steps to get you ready for the JMT.
Understanding Permits and Lottery System
Getting your hands on a wilderness permit is necessary for your JMT hike, but it’s not just a walk-up-and-grab situation. You’ll enter a lottery system during a specific application window, often several months in advance.
If you’re eyeing the trail for this year, you’ll likely need to apply for permits in January through Recreation.gov.
Keep in mind that permit competition is fierce, and the odds can sometimes feel like you’re playing the slots, so it’s wise to have flexible start dates and trailheads in mind.
The sooner, the better!
If you miss the initial lottery, don’t lose hope—you can still try for walk-up permits, which are released online two weeks before the start date.
Choosing Your Direction: Southbound vs Northbound
Now, let’s talk directions.
Most folks choose to go southbound (SOBO), starting from Yosemite and ending at Mount Whitney. It’s a bit more gradual in the elevation gain department, making acclimatization a friendlier process.
Plus, the traditional SOBO route means ending with a bang at the highest peak in the lower 48.
But hey, going northbound (NOBO) isn’t just for rebels. It’s typically less crowded, but you’ll hit the ground running with some steep ascents right off the bat.
Core Mountaineering Pro-Tip: Opt for NOBO (Northbound) if you’re up for a challenge right from the start. You might find it easier to get a permit due to lower demand.
Trail Itinerary and Daily Mileage
Most people plan for about 10-12 miles each day, but if you’re in tip-top shape, you might push for 15-17. Remember, the Sierra Nevada won’t baby you—the high elevation and rugged terrain can turn what looks like a chill day on paper into a thigh-burner.
Here’s a quick reference to help you map out your days:
- If you’re a newbie: Stick to 8-10 miles a day to soak in the surroundings without overdoing it.
- Seasoned hiker? 10-12 miles will be a good balance of challenge and enjoyment.
- Ulta-fit trail machine? (you know who you are) Aim for 15-17 miles if you want to cover ground.
Use this as a rough guide and adapt it to your own pace and experience levels. Be sure to factor in elevation changes and rest days when planning your journey.
If you’re looking for some beginner tips in California and just starting out. Check out our guide on Beginner Backpacking Trips In California!
The Trailheads and Major Passes
Yosemite Valley to Tuolumne Meadows
Heading out from Yosemite Valley, you’ll gain elevation and pass through some of the trail’s first noteworthy mountain passes.
Donahue Pass is a gateway to the High Sierra, marking your exit from Yosemite National Park and your entry into the Ansel Adams Wilderness.
You’ll find Tuolumne Meadows not too far ahead, a perfect spot for resupply and rest, sitting at an elevation just above 8,600 feet.
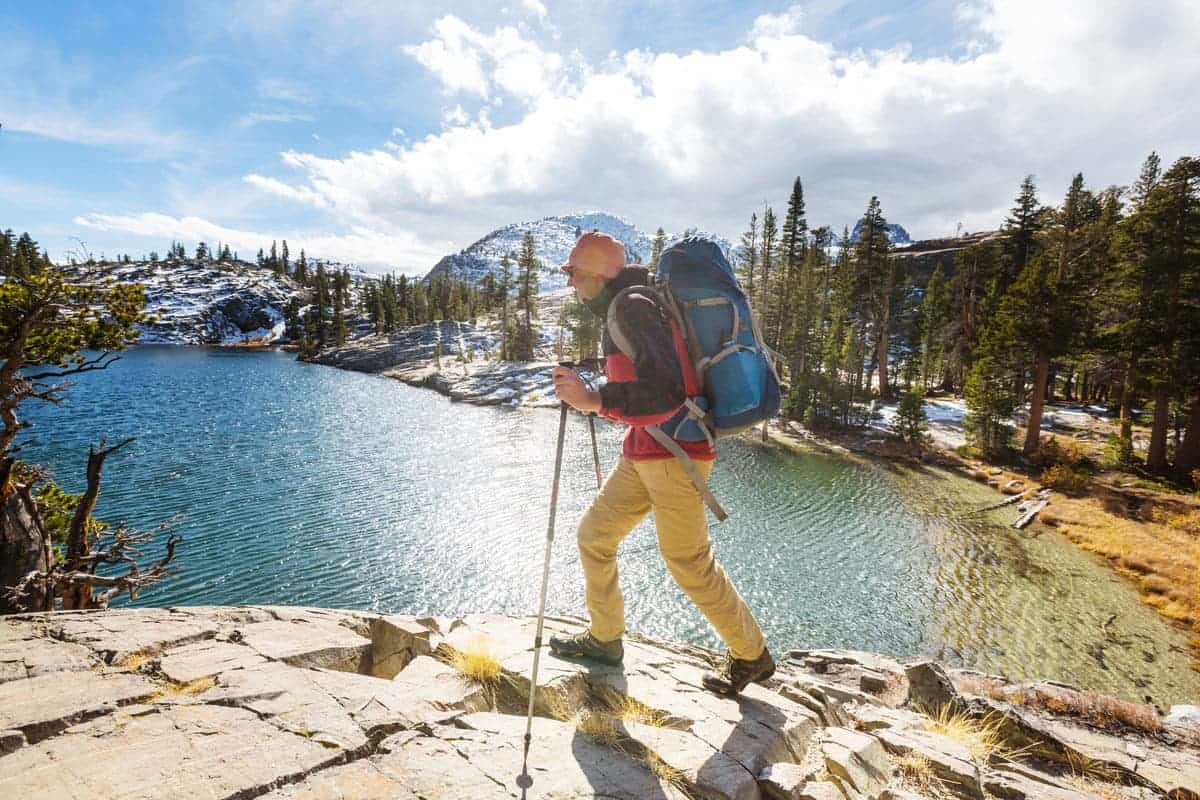
Exploring the High Sierra and Beyond
After leaving the meadows, you’ll be in the heart of the High Sierra, where the peaks get taller and the passes more demanding. Each pass presents its own unique set of challenges and rewards:
- Muir Pass (11,955 ft)
- Mather Pass (12,100 ft)
- Pinchot Pass (12,130 ft)
The air is thinner up here, and the scenery is unbeatable. Look around and enjoy the views of the rugged mountains and the waves of clouds in the sky.
Summiting Mount Whitney
Finally, your quest leads to the grand finale at Mount Whitney, the highest peak in the Lower 48, standing tall at 14,505 feet.
The last checkpoint is Whitney Portal, where the trailhead for the Mt. Whitney summit lies.
The final push to the top is grueling but the sense of accomplishment, coupled with panoramic views of the High Sierra, is unparalleled.
Remember, the altitude here is no joke. Take it slow, and give your body time to acclimatize to avoid altitude sickness.
Whitney should be on the bucket list of every hiker in America.
Resupply Strategies and Tips
Resupply Locations Along the JMT
Yosemite Valley (Happy Isles): If you’re starting from the northern end of the trail, it’s your initial kick-off point – no resupply is needed yet.
Tuolumne Meadows: About 23 miles into your hike, Tuolumne Meadows offers a post office where you can pick up packages.
Keep in mind to check each location’s operating dates and shipping requirements, as these can change seasonally.
Red’s Meadow Resort: Roughly 60 miles from your start, Red’s Meadow near Mammoth Lakes provides resupply services, a small store, and a post office.
Muir Trail Ranch (MTR): Just before halfway at about mile 110, MTR is one of your last resupply points where you can send packages. Resupply here is especially crucial as the next section is remote.
Verdant Meadows: Here, you’ll find resupply options about 25 miles before Mount Whitney.
Sending and Receiving Your Cache
Before You Send:
- Use bear-proof containers when required, and consider using a 5-gallon bucket for MTR to protect your supplies from animals.
- Clearly label your resupply package with your name, “Hold for JMT Hiker”, expected arrival date, and permit number if applicable.
Mailing Your Supplies:
- Send your package approximately 2-3 weeks ahead of your expected arrival. This accounts for slower postal services in remote areas.
- Use the US Postal Service for post offices or certain resupply points like Red’s Meadow. Otherwise, opt for private carriers where post offices are not available.
Core Mountaineering Pro-Tip: Make sure you label and time your resupply packages correctly. It can mean the difference between having a fully stocked pack and running out of supplies unexpectedly.
Gear and Packing Essentials
Your gear will be your lifeline, so choosing the right equipment can enhance your comfort and safety throughout the journey.
Choosing the Right Backpack
For a trail that spans 210 miles, your backpack is more than just a bag—it’s your mobile base camp.
- You’ll want something with a 50 to 70L capacity, but aim for a weight under 3lbs.
- Innovative designs combine durability with comfort, so look for features like padded straps and ventilated back panels.
Your pack must accommodate not just your essentials but also a bear canister for parts of the trail where it’s mandatory.
Navigating Bear Canister Regulations
All food, trash, and scented items must be stored in these certified bear-resistant containers every night. They can be bulky, but you need to factor this into your packing strategy.
Canisters range in size, so select one that can hold all of your caloric necessities for the stretches between resupply points.
Secure storage is a part of responsible backpacking, so integrate your bear canister seamlessly into your pack.
Ultralight Backpacking: Pros and Cons
Shaving pounds off your gear means less energy spent per step. However, going ultralight requires careful consideration. It’s a balance between minimalism and preparedness.
For instance, lighten your load with a compact sleeping bag and tent, but don’t compromise on essentials like navigation tools or your bear canister.
The trick is to cover all your needs with the least weight but remember, safety should never be sacrificed for the sake of saving a few ounces.
Trail Navigation and Safety
Reading Trail Maps and Cloud-Based GPS
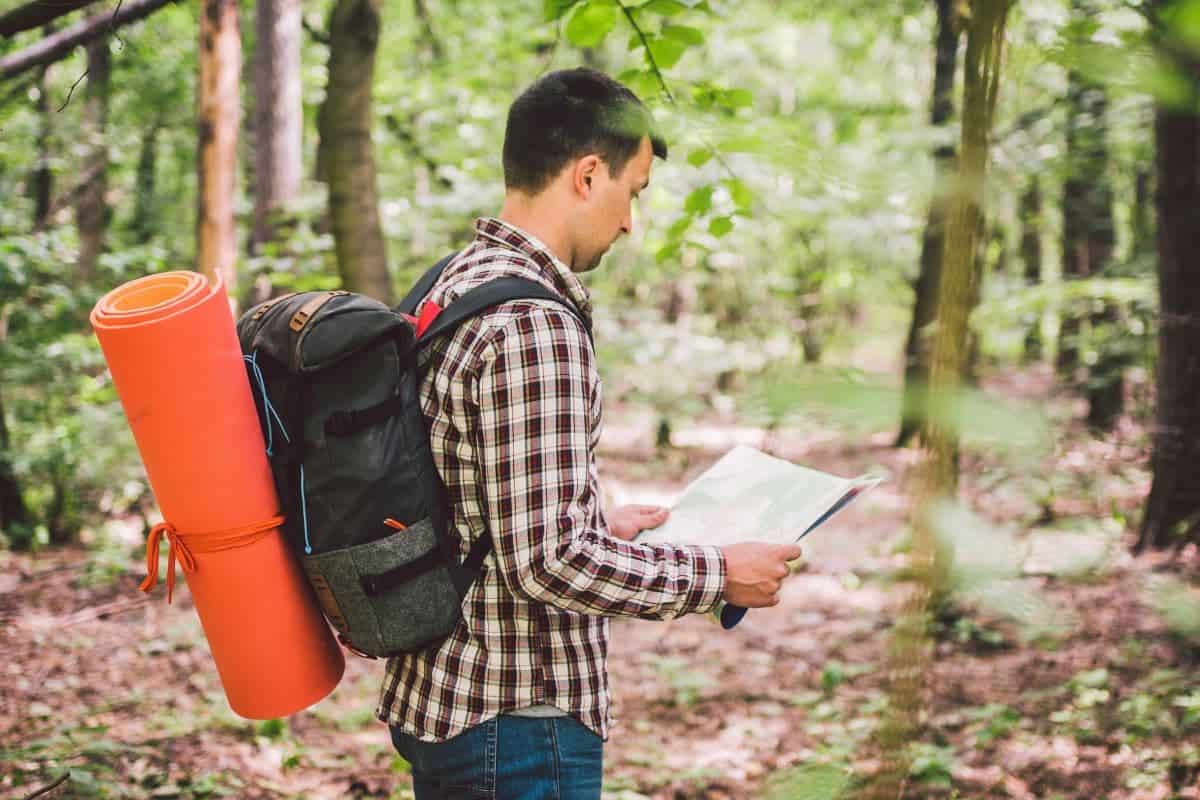
Before you hit the trail, you’re going to need to know how to read a trail map. But let’s be real, paper maps can get soggy or lost.
That’s why it’s wise to have a backup.
Enter cloud-based GPS services. Here’s a quick rundown:
Trail Maps: Keep a physical map and a compass as reliable, fail-safe tools. Familiarize yourself with the trail marks and topographic lines.
Cloud-Based GPS: Apps can give you real-time updates and location tracking.
- Make sure you download maps for offline use before you start.
- Check if your chosen app syncs with cloud-based services, so you can save your trail data effortlessly.
Managing Elevation and Altitude Sickness
Let’s talk about tackling those high elevations and the sneaky onset of altitude sickness. Here’s what to look out for:
Elevation: The JMT averages around 8,000 feet, so give yourself time to acclimate, especially at the start.
Altitude Sickness: Can range from a mild headache to serious health concerns. Keep these tips in hand:
- Drink plenty of water.
- Pace your climb to let your body adjust.
- If you feel off, rest or descend to a lower altitude.
Natural Wonders and Key Landmarks
As you trek through the John Muir Trail, you’ll find yourself surrounded by an astonishing array of natural wonders.
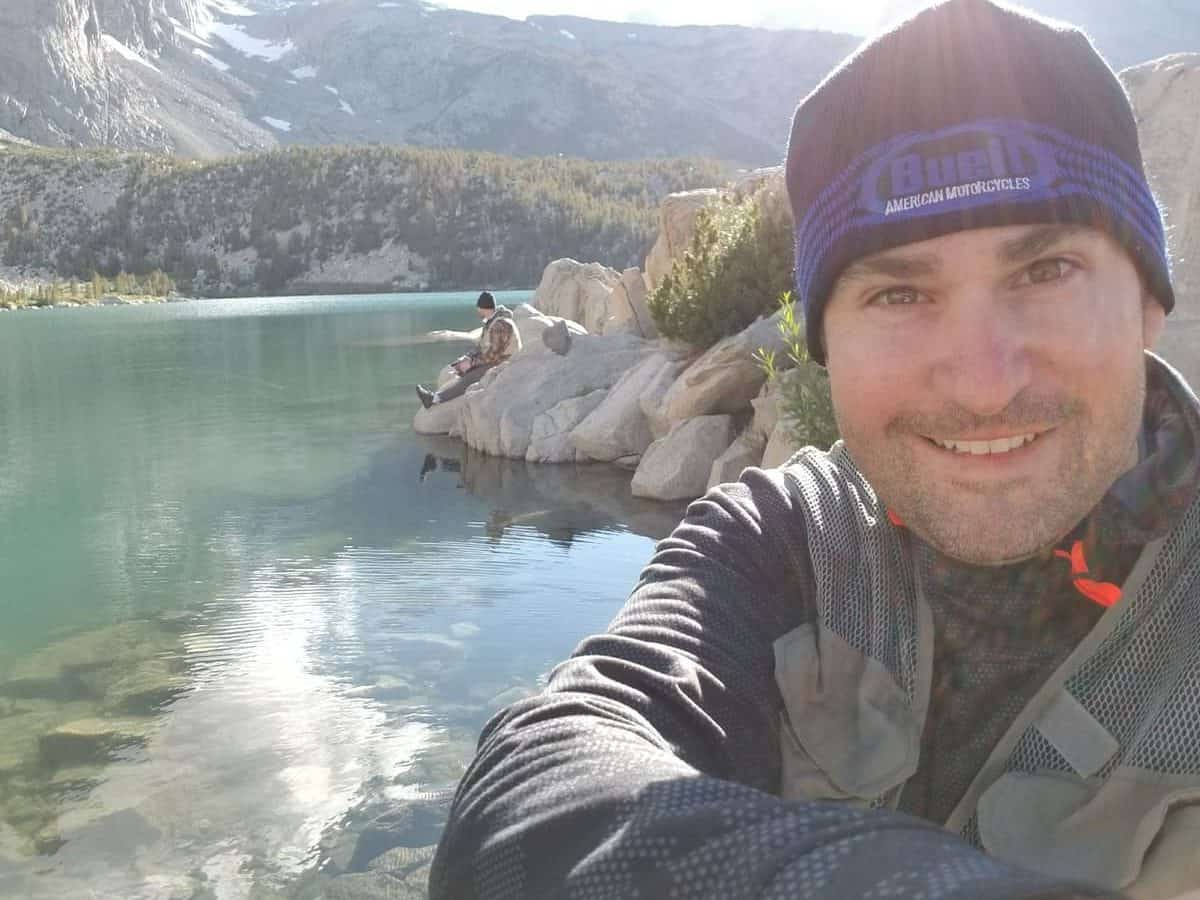
Must-See Lakes and Waterfalls
- Rae Lakes
- Vernal and Nevada Falls
Famous Peaks and Scenic Overlooks

- Mount Whitney
- Half Dome
Camping and Shelter Along the Trail
Best Campsites and Natural Shelters
When you’re looking to pitch your tent, some spots are legendary.
Between Cecile and Minaret Lakes, you’ll find jaw-dropping views worth the day’s hike.
High alpine lakes like Upper Cathedral Lake offer you a front-row seat to nature’s grandeur, especially if you’re southbound (SOBO). These spots not only provide a stunning morning view, but they’re also great for natural shelter against wind with nearby trees and rock formations.
If you yearn for solitude, the JMT has plenty of less-known sites that offer a peaceful retreat. Don’t miss out on the serene beauty of places like Deer Meadow or Medium Lake, where the stars at night will make you forget the exhausting miles to get there.
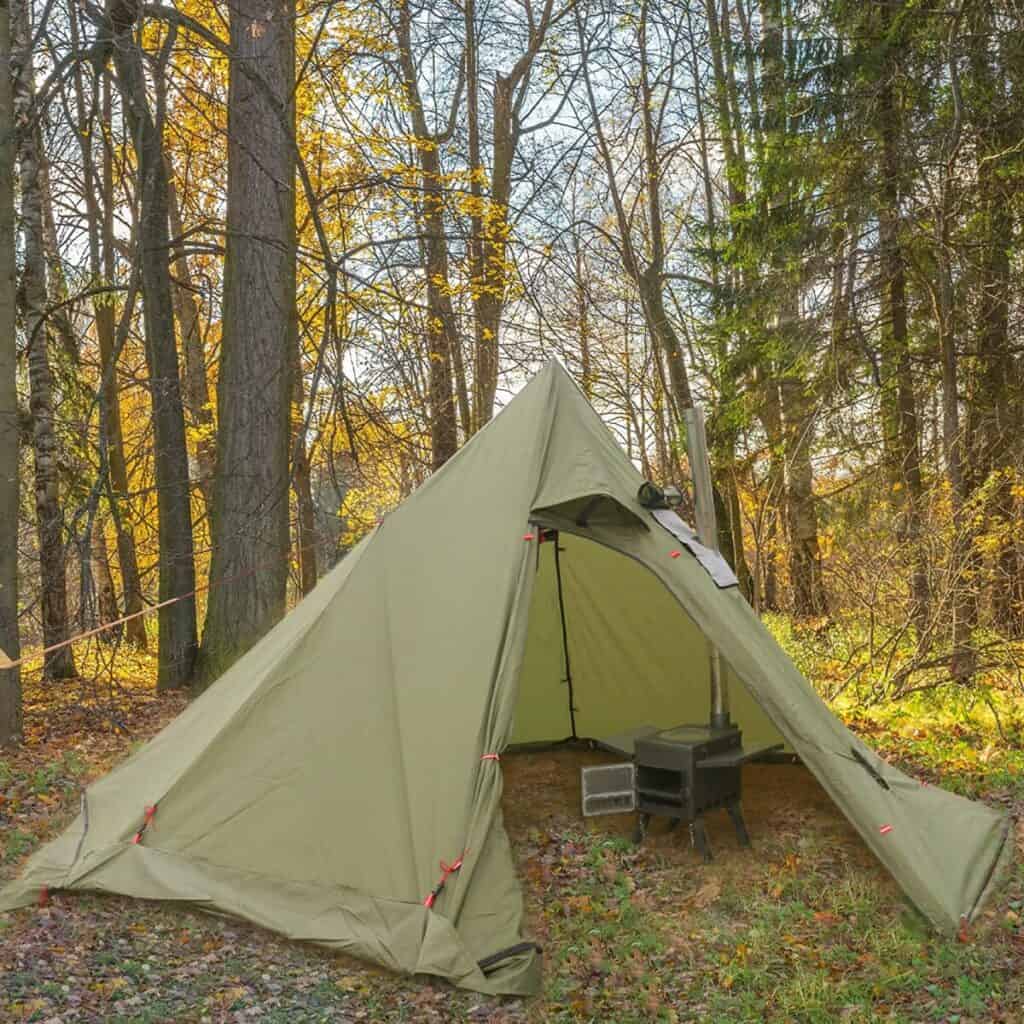
Keep in mind, true shelters like cabins or huts are sparse. Most nights, you’ll be under your tent or in a sleeping bag, gazing at the Sierra Nevada sky.
Dealing With Mosquitoes and Wildlife
Mosquitoes love the Sierra just as much as you do, especially near creeks and lakes. Come prepared with nets and repellent, because these buzzing companions are inevitable, especially early in the hiking season.
Now, let’s talk bears. They’re curious and hungry, and they’ll be very interested in your food.
Hang your food high in a tree or use a bear-proof canister – it’s not only smart but required by law in some sections of the trail.
Be vigilant with wildlife — this means securing your food and toiletries.
Core Mountaineering Pro-Tip: Stash everything that smells in your bear canister away from your sleeping area. This little effort keeps the wild inhabitants safe, and the experience enjoyable for all.
You should have a bear canister, but say, for some reason, you don’t. Use a dry bag. You can find a ton of uses for dry bags in our article here.
Challenges and Rewards of Thru-Hiking the JMT
The John Muir Trail (JMT) offers an epic thru-hike adventure where you’ll earn bragging rights for conquering one of America’s most beautiful trails. However, it’s not a walk in the park and presents a fair share of challenges:
| Challenges | |
|---|---|
| Elevation | With much of the trail above 8,000 feet and peaking at 14,505 feet at the summit of Mount Whitney, altitude sickness is a real concern. |
| Permits | Landing a permit requires advance planning and a bit of luck. Permits are necessary, and the process can be competitive. |
| Physical Demand | Expect to hike 10-12 miles daily over rugged terrain, which can be taxing on the body. |
| Weather | Temperatures vary widely, and storms can whip up unexpectedly, so be ready for anything. |
| Rewards | |
|---|---|
| Scenery | You’re rewarded with jaw-dropping vistas, alpine lakes, and breathtaking mountain passes. |
| Solitude | Find peace and solitude in the high Sierras, far from the noise of daily life. |
| Accomplishment | Completing a JMT thru-hike is a testament to your perseverance and outdoor skills. |
| Community | The trail culture is inviting. You’ll meet fellow hikers who could become lifelong friends. |
Preparing for the Journey
Physical Training and Conditioning
- Start with a regular cardio routine that includes activities like running, cycling, or swimming to build up your endurance.
- Hiking with a weighted pack on varied terrain can simulate the trail experience and get your body accustomed to the demands of the hike.
- Strength training is also important, focusing on your legs, core, and back. Exercises such as squats, lunges, and planks will be your allies here.
- Don’t forget about flexibility—regular stretching or yoga can help prevent injuries.
- Establish a balanced workout schedule, gradually increasing intensity to avoid overexertion.
To find out what you need to do the night before a long hike, we’ve got you covered! Check out our article here for what to do the night before hiking!
Mental Preparation and Expectations
Mentally preparing for the John Muir Trail is just as important as the physical aspect.
- Start by setting realistic goals for your daily mileage, and know that it’s okay to adjust as you go.
- Be prepared for the psychological challenges of long-distance hiking.
- Understand that there will be tough days, and build your resilience to push through them.
- Develop a positive mindset—a can-do attitude can make all the difference when fatigue sets in.
Transportation and Accessibility
Getting to and From Trailheads
Your journey will likely begin at one of the main trailheads, either in Yosemite Valley at Happy Isles or further up at Tuolumne Meadows. Here’s what you need to consider:
- Happy Isles: This is the starting point for many hikers on the John Muir Trail. You can reach it by car or via YARTS (Yosemite Area Regional Transportation System) buses that run throughout Yosemite National Park.
- Tuolumne Meadows: A bit more remote but still accessible, Tuolumne Meadows can be your kickoff spot if you prefer. Again, YARTS buses can get you there, but they have limited operation periods, so check the schedule.
Remember, parking at these trailheads can be limited, so if you’re driving, get there early or on a weekday.
Navigating Local Transportation
While on your hiking journey, there might be a few times when you need to jump on local transport. Here’s what to keep in mind:
- YARTS: This bus service is a lifeline, connecting various spots within and around Yosemite. Always check the latest schedule and fares on their official website before you set out.
- Shuttle Services: There are shuttle services within the park that can help you hop between locations, convenient for resupply or if you’re section hiking.
For both services, note that:
- Summer months offer more frequent service.
- Plan ahead for off-season trips, as services are reduced or may not run.
Using these transport options, you’ll be able to access the trailheads without the need for a personal vehicle. Just make sure to double-check all timings and book tickets in advance during peak seasons!
Frequently Asked Questions
How do I get permits for hiking the John Muir Trail?
To hike the JMT, you need to obtain a wilderness permit. You can apply for permits through the recreation.gov website or the relevant National Park Service websites.
Can you recommend a detailed map for navigating the John Muir Trail?
Yes, there are comprehensive maps available for the JMT. The Tom Harrison Maps are a popular choice among hikers, offering a clear and detailed view of the trail.
What are some must-do section hikes along the John Muir Trail?
If time is limited, some spectacular section hikes include the Rae Lakes Loop in Kings Canyon National Park and the stretch from Yosemite Valley to Red’s Meadow.
Are there any trails similar to the John Muir Trail if it’s too crowded?
Certainly! Other trails like the High Sierra Trail or portions of the Pacific Crest Trail also offer stunning Sierra Nevada scenery with potentially less foot traffic. Consider these as alternatives if you seek solitude.
Which part of the John Muir Trail offers the most stunning scenery?
Many hikers agree that the areas surrounding Rae Lakes and the final ascent to Mount Whitney are among the most breathtaking. However, with such varied terrain, you’ll encounter stunning vistas all along the JMT.
What’s the total distance of the John Muir Trail?
The John Muir Trail covers approximately 211 miles from Yosemite Valley to Mount Whitney. It winds through various national parks and wilderness areas, making it a substantial undertaking with a rewarding finish at the highest peak in the contiguous United States.
Final Thoughts – Make JMT One Of Your Scenic Treks
As you plan your JMT adventure, remember the importance of proper preparation, from securing permits to choosing the right gear and resupply strategies.
While the trail may present its challenges, from altitude sickness to conquering wilderness permits, the rewards far outweigh the difficulties. And let’s not forget the camaraderie you’ll find among fellow hikers, forging friendships that may last a lifetime.
As John Muir himself once said, “The mountains are calling, and I must go.” It’s time to answer that call and experience the wonder of the John Muir Trail for yourself.